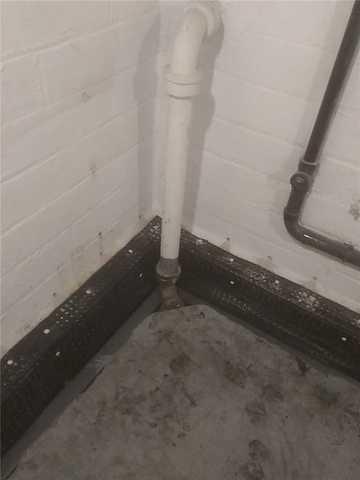
Installing WaterGuard
Our installation crew has set the waterproofing system on this exposed footing foundation. In this situation we needed to also use a product called CactusBoard along with WaterGuard.
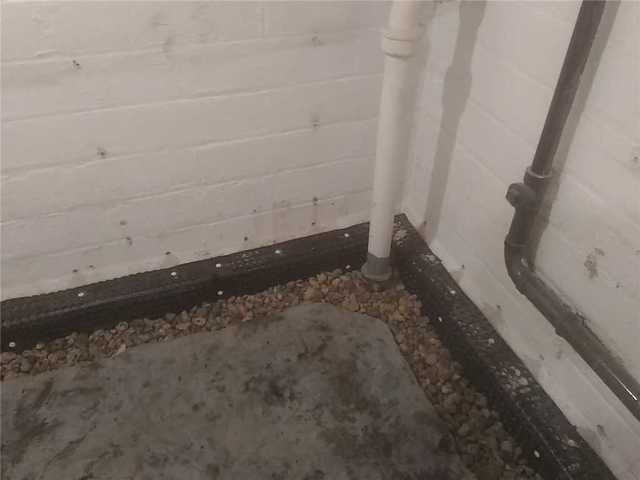
Rock poured over the waterproofing system
We install rock above the waterproofing system.
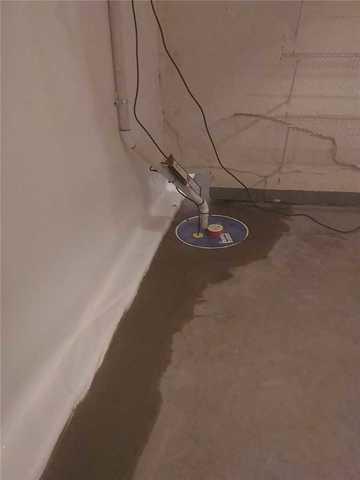
Finished Waterproofing System with SuperSump Installation
Our installation crew completes re-pouring the concrete after the waterproofing products are installed. With an exposed footing, you will see the CleanSpace channeled into the waterproofing system below.
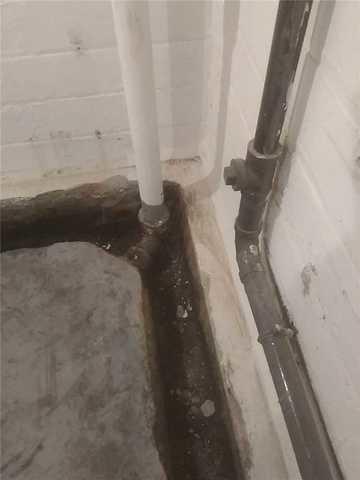
Digging a trench to prep for installing waterproofing system
This particular project had an exposed footing. Our crew uses a jackhammer to dig a trench to prepare to properly install our waterproofing system.
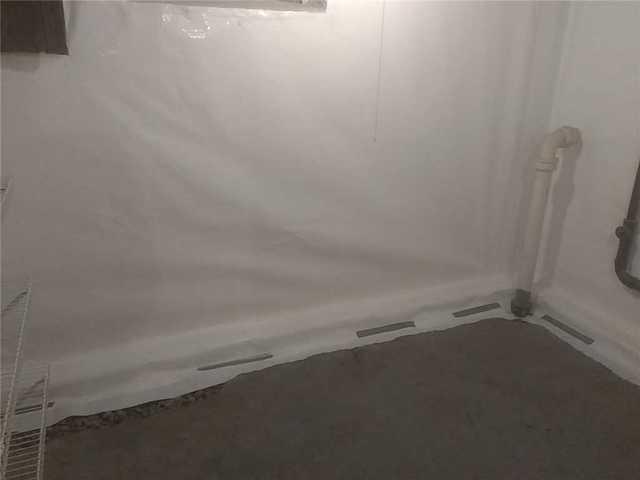
CleanSpace Wall System
CleanSpace Wall System is a vapor barrier installed on the walls in the basement to protect from moisture, mold, etc. This will leave the basement looking brighter and clean looking.