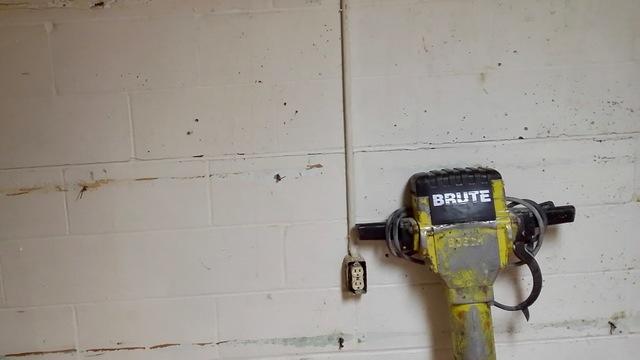
The Prep Work
Before the demo begins, the crew worked to put plastic on the floors and applicable doorways to keep dust and overall mess to a minimum. Then, they hauled in all of their equipment while the foreman conducted a walk through with the customer to ensure that everyone was on the same page about the project.
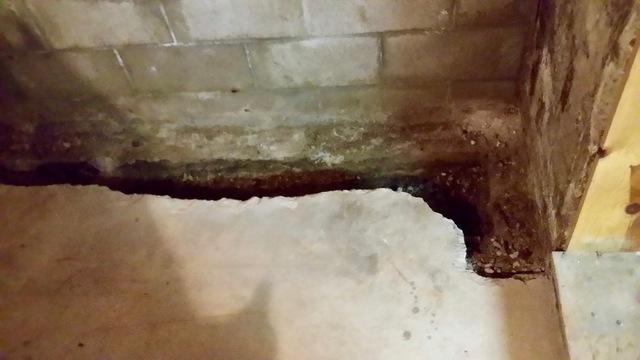
Jackhammer work
The crew worked to remove cement around the perimeter of the space where the waterproofing system will be installed.
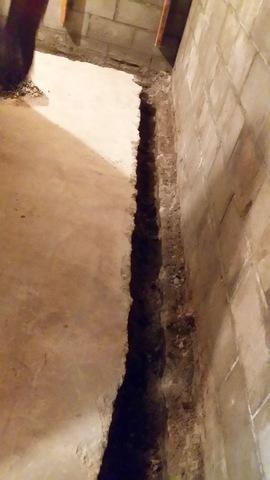
Sweat Equity
This part of the job requires all hands on deck. While one person worked to jackhammer away the cement, the other crew members worked to haul out the cement with five-gallon buckets.
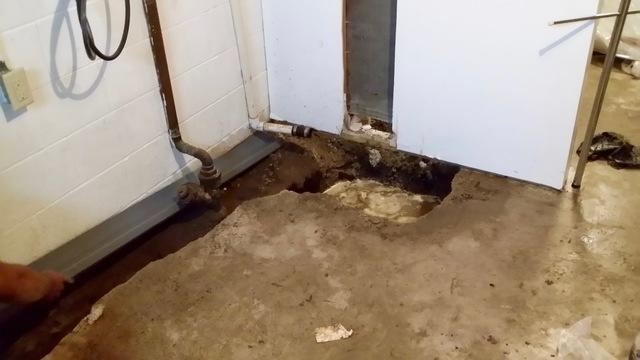
Installation Time
Together, the crew worked to begin installing the waterproofing system.
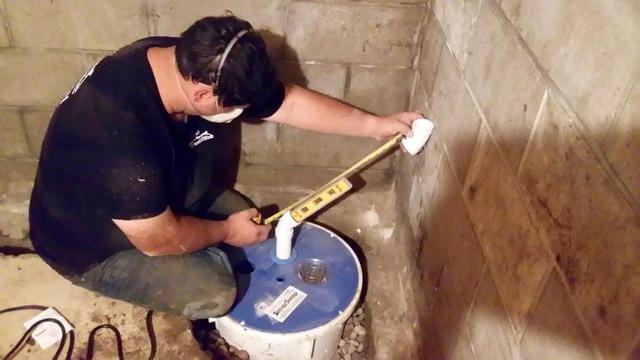
Accuracy Check
The crew takes great pride in every single job they install. They work diligently to make sure that the job gets done right the first time.
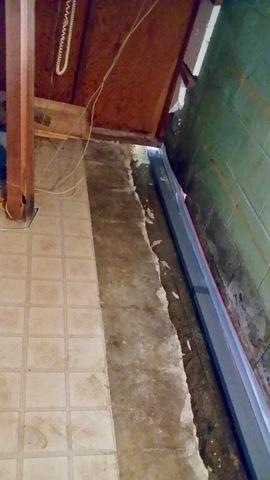
The Install
The crew worked to install the waterproofing system throughout the basement, careful to be the least intrusive to the space as possible.
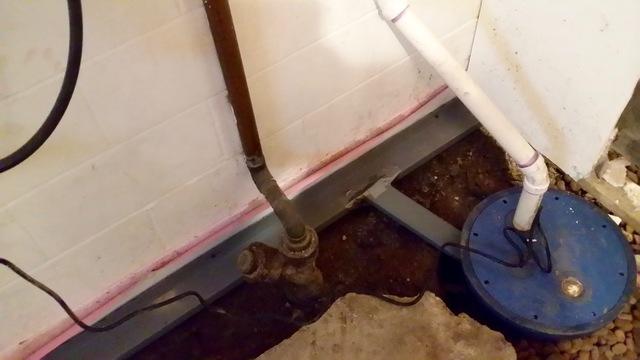
Water Removal
The entire system is tied to the sump pump, which works to remove the water from the space.
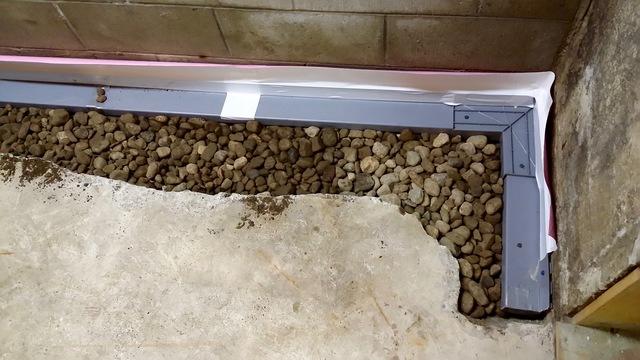
Installation Progress
Once the system was installed, the crew placed rock within the trench. This works to keep the system free from debris, and allows water to travel easily and efficiently to the system.
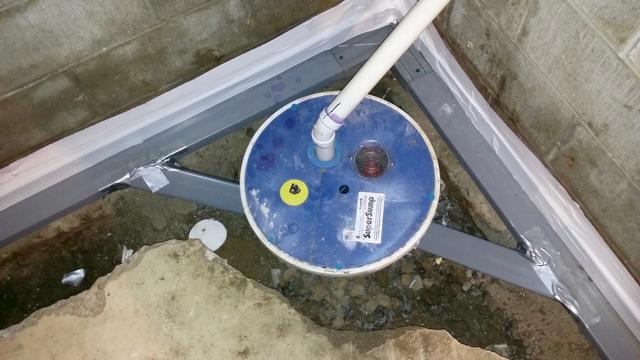
The Sump Pump
Homeowners rarely see the "bones" of the system before it's cemented over. As you can see, the entire system is tied to the sump pump, which then works to remove the water from the home.
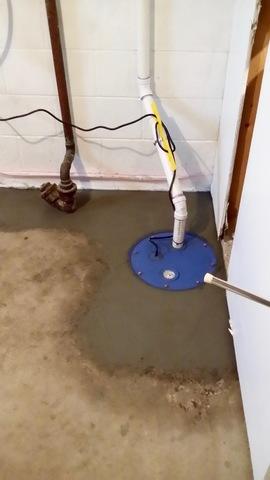
Finishing Touches
After the installation was complete, the crew cemented over they system so that the flooring is ready for the homeowners to finish as they choose.
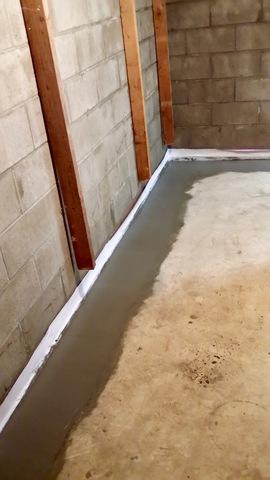
Picture Perfect!
After the crew finished cement work, they cleaned up the entire space while the foreman took the homeowner through a final walk through to ensure that they are completely comfortable with how their new waterproofing system works!
