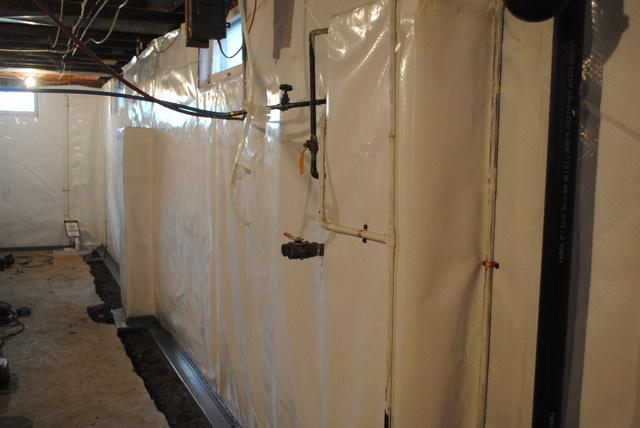
Sealing the Walls With CleanSpace
Here you can see that this basement had some pillars that stuck out of the walls. That is no problem for the CleanSpace wall system which is custom fit to every basement wall.
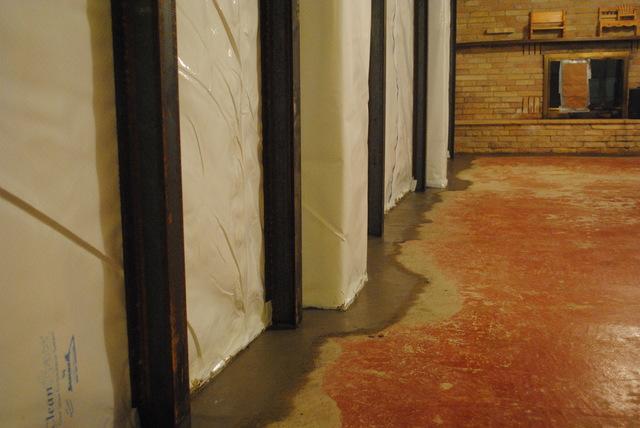
Wall Braces & Concrete In
This was the last phase of the waterproofing and wall braces in Mapleton.
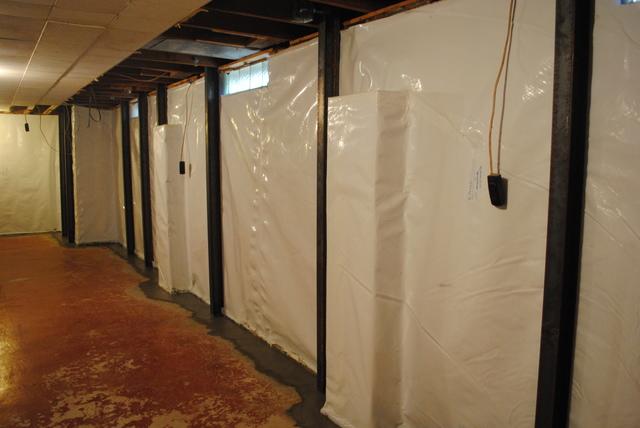
Basement Overview (an after photo)
This is the completed wall and waterproofing project that our crew finished up on Friday.
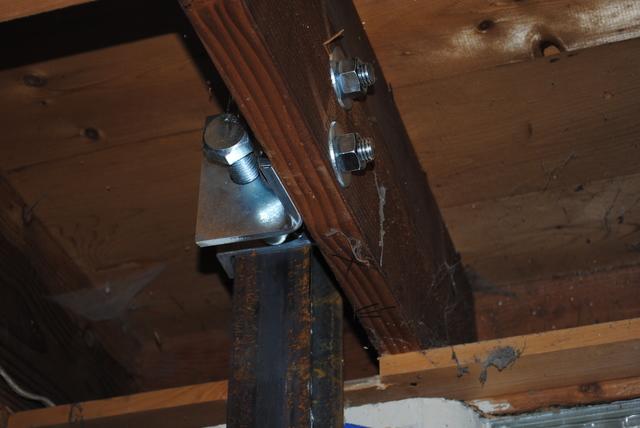
Wall Brace Attachment
No matter how your basement walls look or what you have on your ceiling, our crew will find a way to fasten the braces.
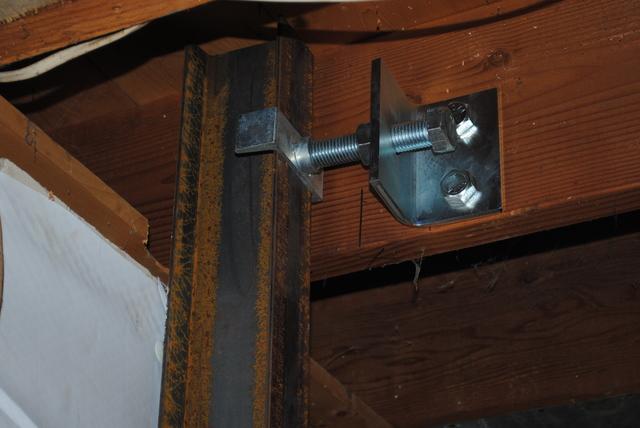
Different Wall Brace Attachment
This is a different wall brace attachment but will still do the same work that the other attachment does.
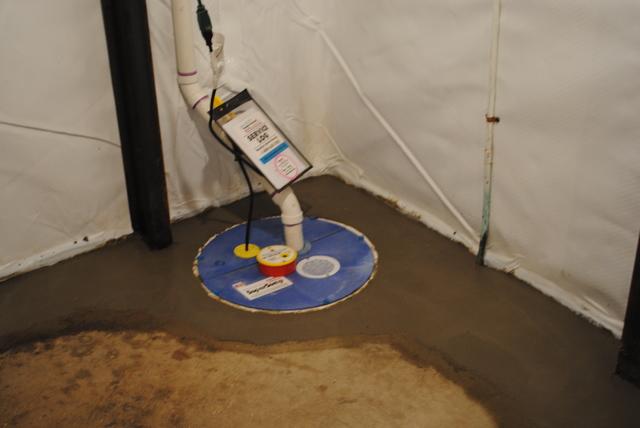
Sump Pump fully installed
With the sump pump installed and concrete poured, this basement is now protected from water & mold.
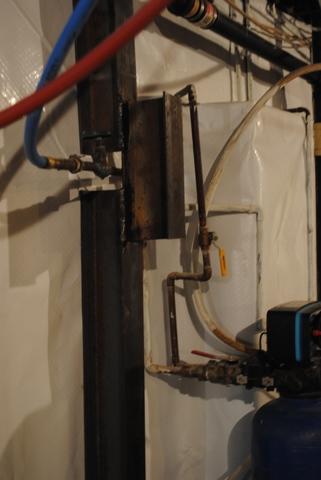
Welded Wall Bracing
Wall braces must be set a certain distance apart, and thus, must sometimes be welded to fit around obstacles.
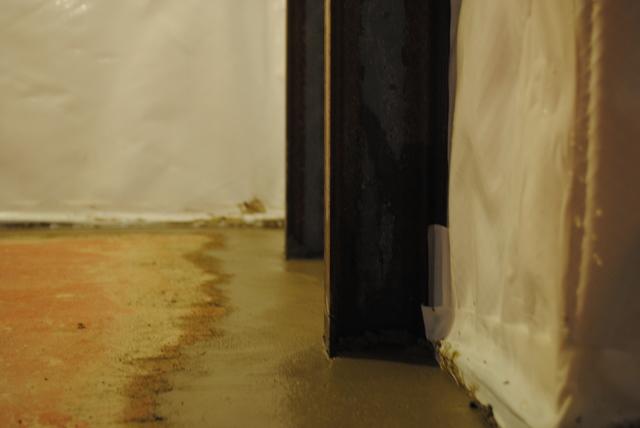
Fresh Concrete
This is a great photo representing how the wall braces are solidified under the concrete.
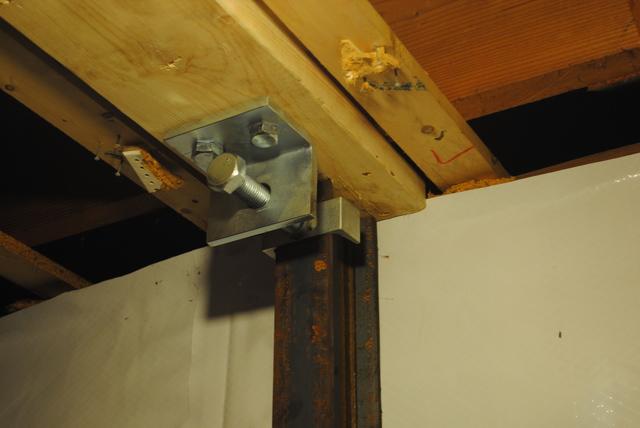
Wall Brace Attachment
Here's another different attachment for a wall brace installation. Our crew will figure out the best way to attach them to your ceiling.
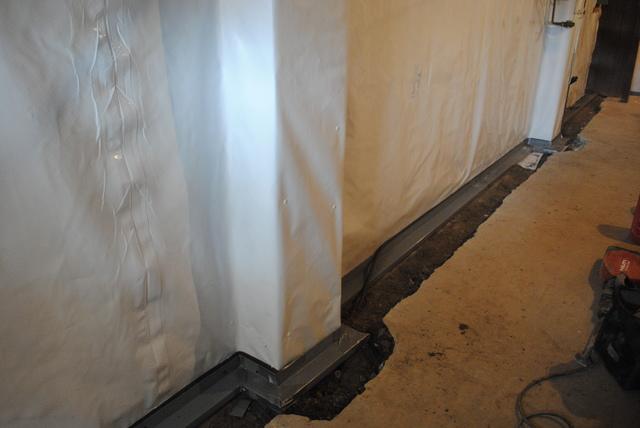
WaterGuard Wrapping Around Pillars
Just like the CleanSpace on the walls, the WaterGuard system can also be cut and fit to wrap around pillars and other obstructions in a basement.
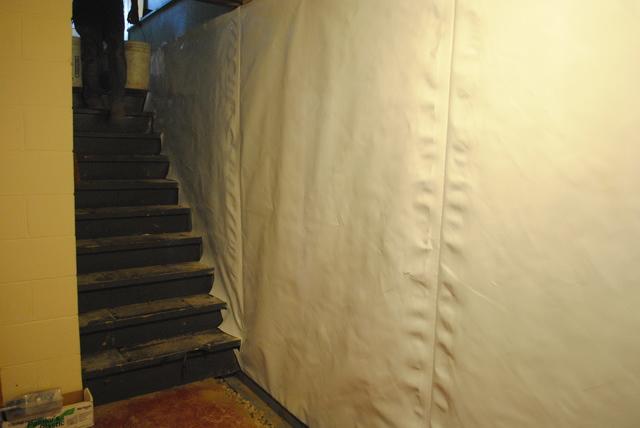
CleanSpace Going Up the Stairs
The crew cut the CleanSpace to follow the stairs, so these walls are going to be protected in the best way.
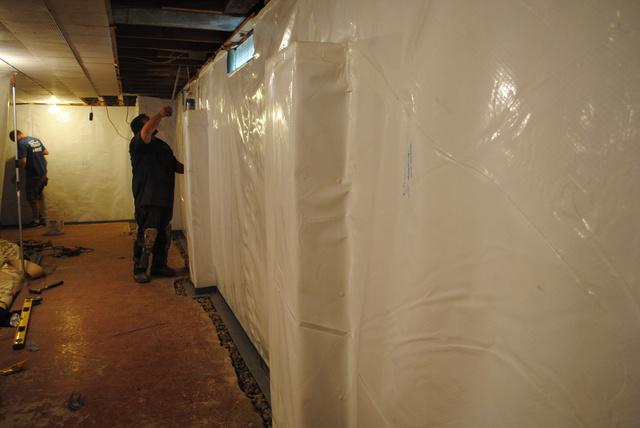
Measuring for Wall Braces
One of our production guys measures the walls for the accurate size of the wall braces that will be installed.
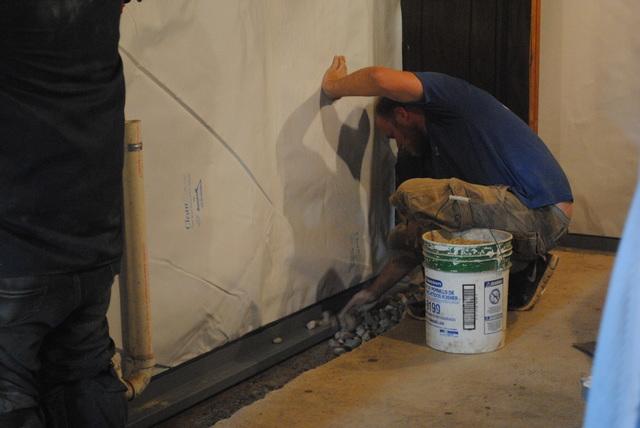
Pouring Rock
Our production team works to put in the rock over the top of the WaterGuard. After that they will be putting in wall braces and concrete to finish the job.
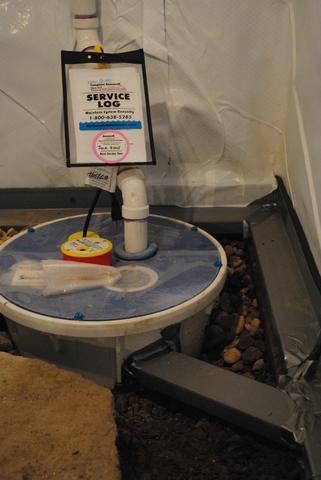
New Sump Pump
Before the production guys pour in the rock to the trench, you can see how the WaterGuard system drains directly to the new sump pump!
