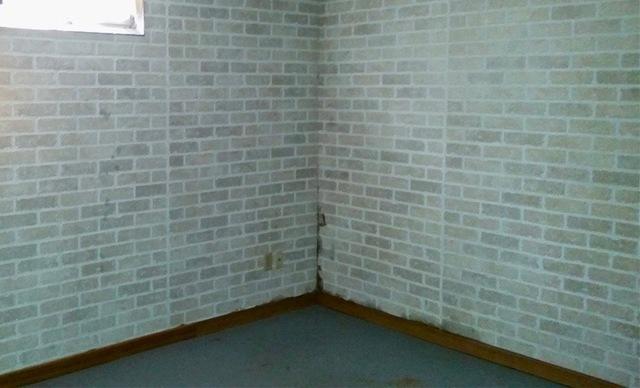
Before: Signs of Mildew
When System Design Specialist first visited the home, he immediately noticed the main entrance where the water was seeping into the home, and noted that mildew had started to form.
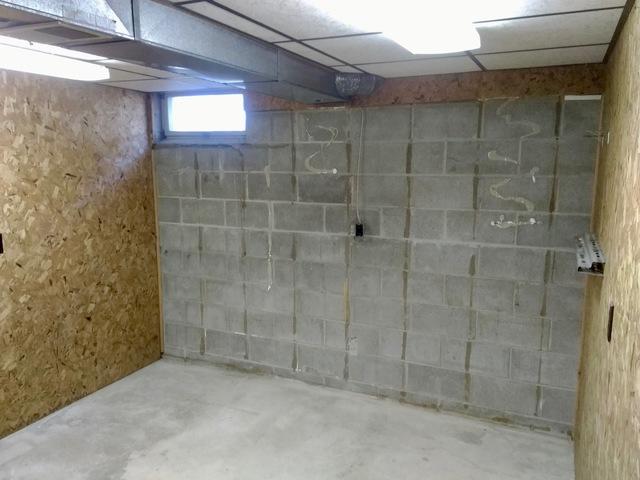
Signs of Moisture
Block walls are notorious for allowing moisture into basement spaces.
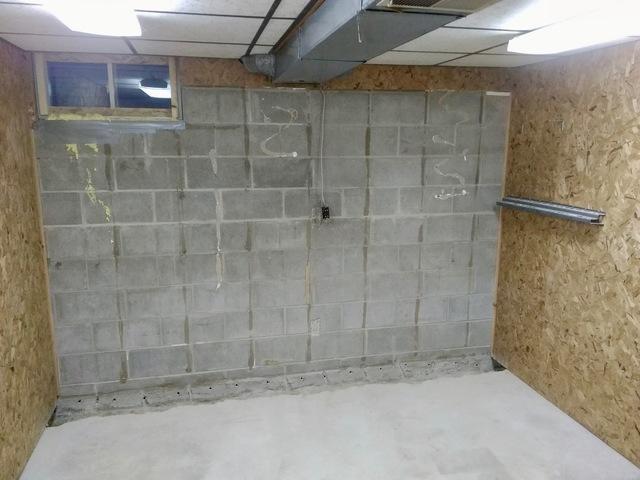
Initial Work
Prior to the crew starting the job, the homeowners had the basement gutted. Then, the crew used a jackhammer to remove concrete from the perimeter of the basement where they would install the waterproofing system.
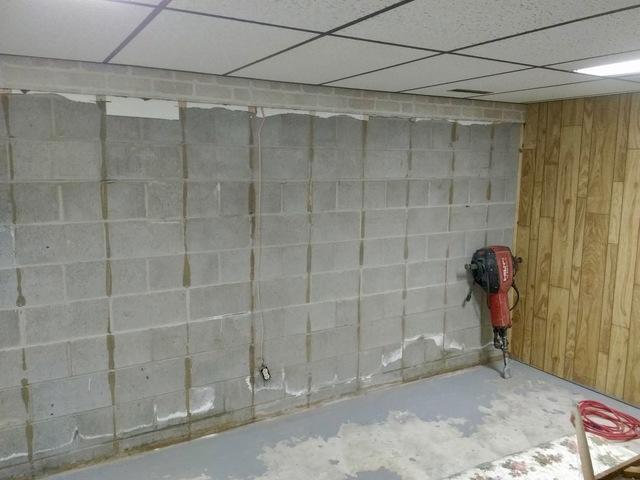
Initial Work
The crew used a jackhammer to remove concrete from the perimeter of the space.
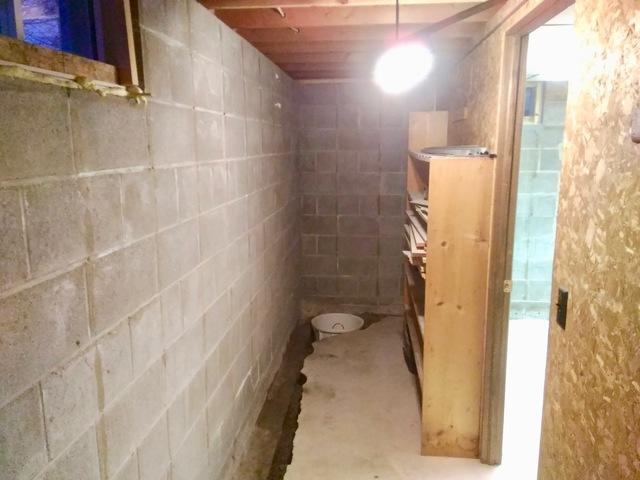
Sump Pump Installation
Crew Leader Rodney Pfarr worked to install the sump basket.
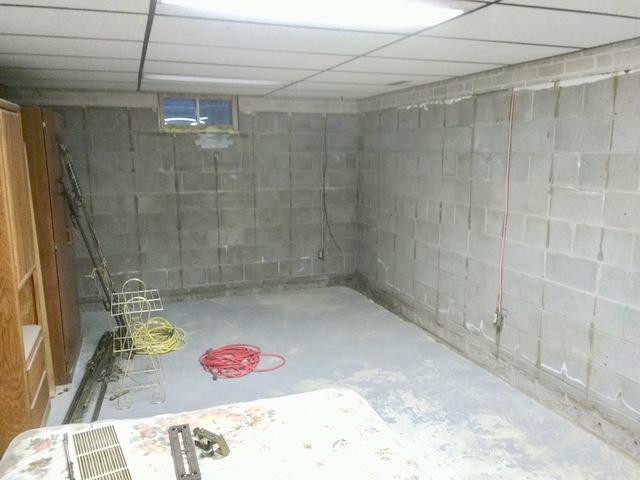
Getting to Work
Together, the crew removed all of the jackhammered concrete from the space by hand to minimize intrusion on the home.
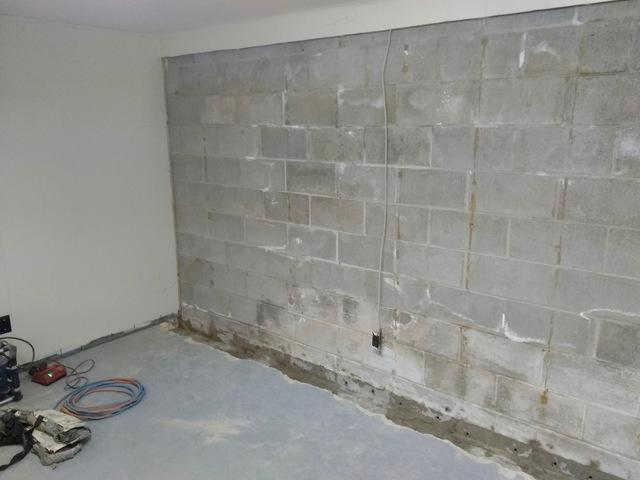
Ready for WaterGuard
Once the jackhammering was complete, the crew prepared the space for WaterGuard, the waterproofing system.
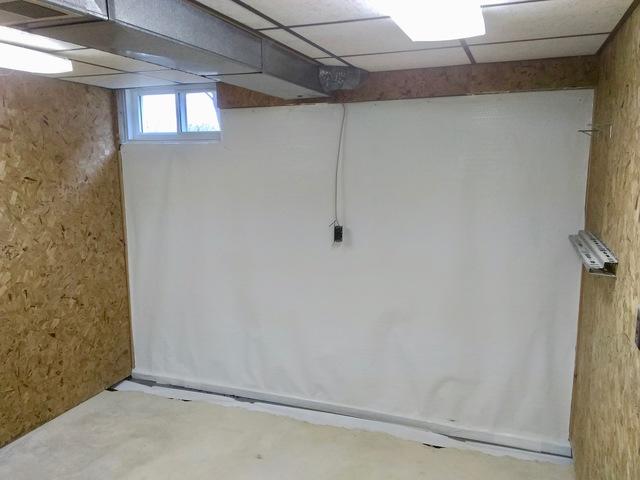
Installing CleanSpace
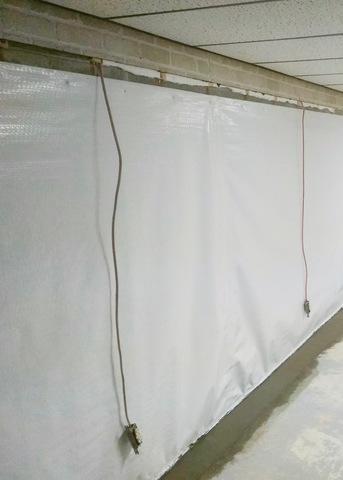
The crew tied in the wall vapor barrier directly to the waterproofing system.
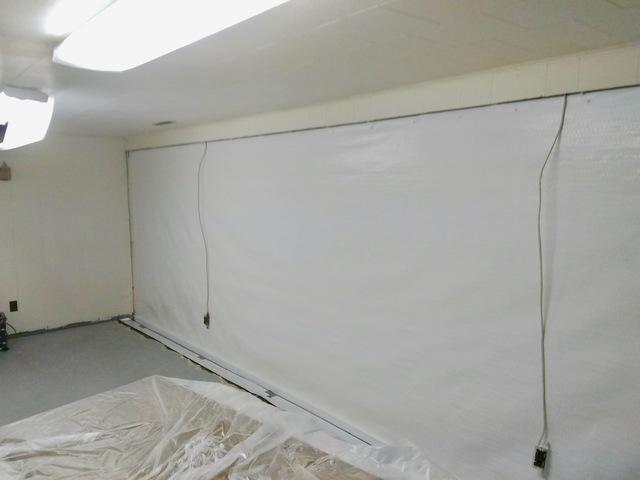
CleanSpace
The crew installed CleanSpace, a wall vapor barrier, which tied into the waterproofing system to prevent any moisture from entering the space.
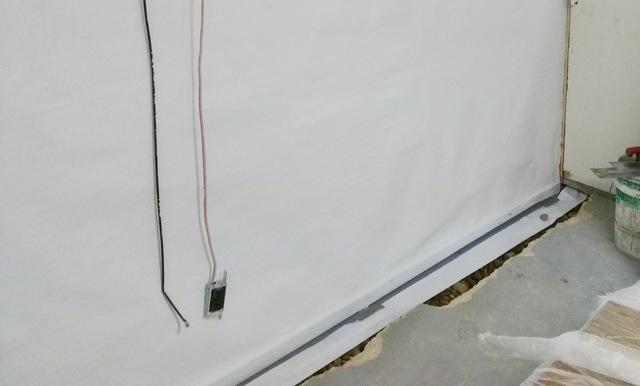
WaterGuard
The crew installed WaterGuard, the waterproofing system, and tied in the CleanSpace wall vapor barrier so that all moisture is collected and removed through the sump pump.
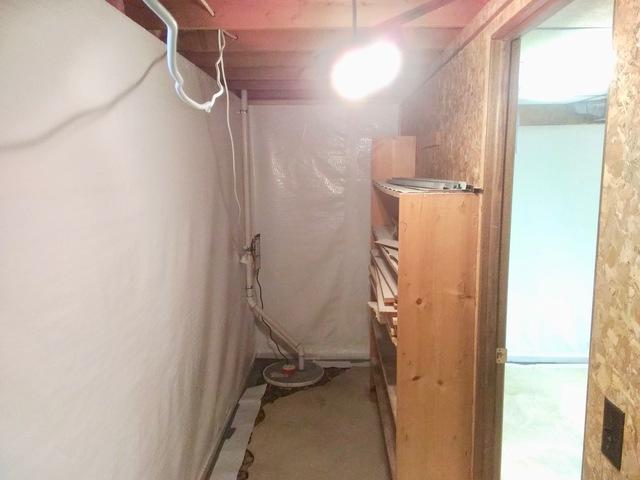
Sump Installation
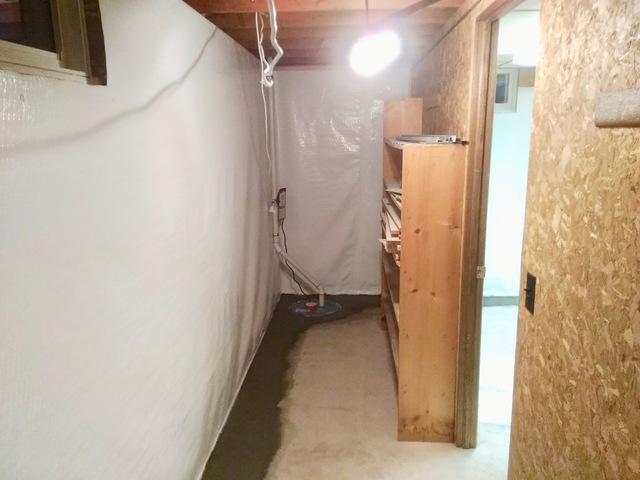
After installing the sump basket, the crew finished installing the SuperSump sump pump system.
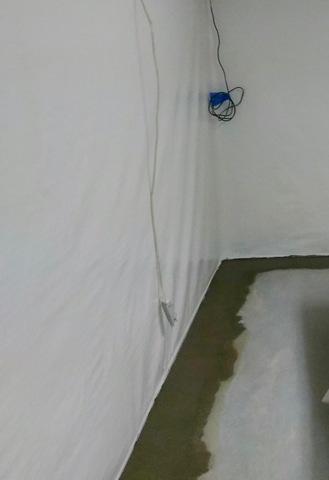
Concrete Work
After the waterproofing system was installed, the crew replaced the concrete so that the homeowners can finish the basement to their preference.
Finishing Touches
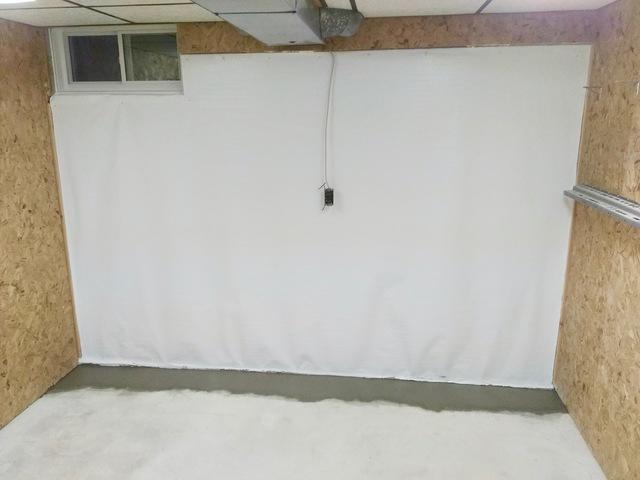
After installing the waterproofing system, the crew ensured that the concrete was done properly so that the homeowners can install flooring of their choice.
Ready for Finishing
With a proper waterproofing system, the basement is now ready for finishing.
SuperSump
The SuperSump sump pump was installed to remove all moisture from the space.
